How to Use Demarker in 3 Simple Steps
Fast Watermark Removal, Start to Finish
Demarker makes watermark removal quick and simple. This guide walks you through the full flow so you know exactly what to do and where to find your results.
What You Need Before You Start
Have a photo ready in JPG, PNG, or WebP format. For the cleanest output, use the highest resolution source you have and make sure the watermark is fully visible in the frame.
Tips for Best Results
- Use a clear, well-lit image so textures are easier to rebuild.
- If the watermark is large, start with a tighter crop to improve accuracy.
- If the result isn’t perfect, try again with the original file for a stronger cleanup.
Step-by-Step Walkthrough
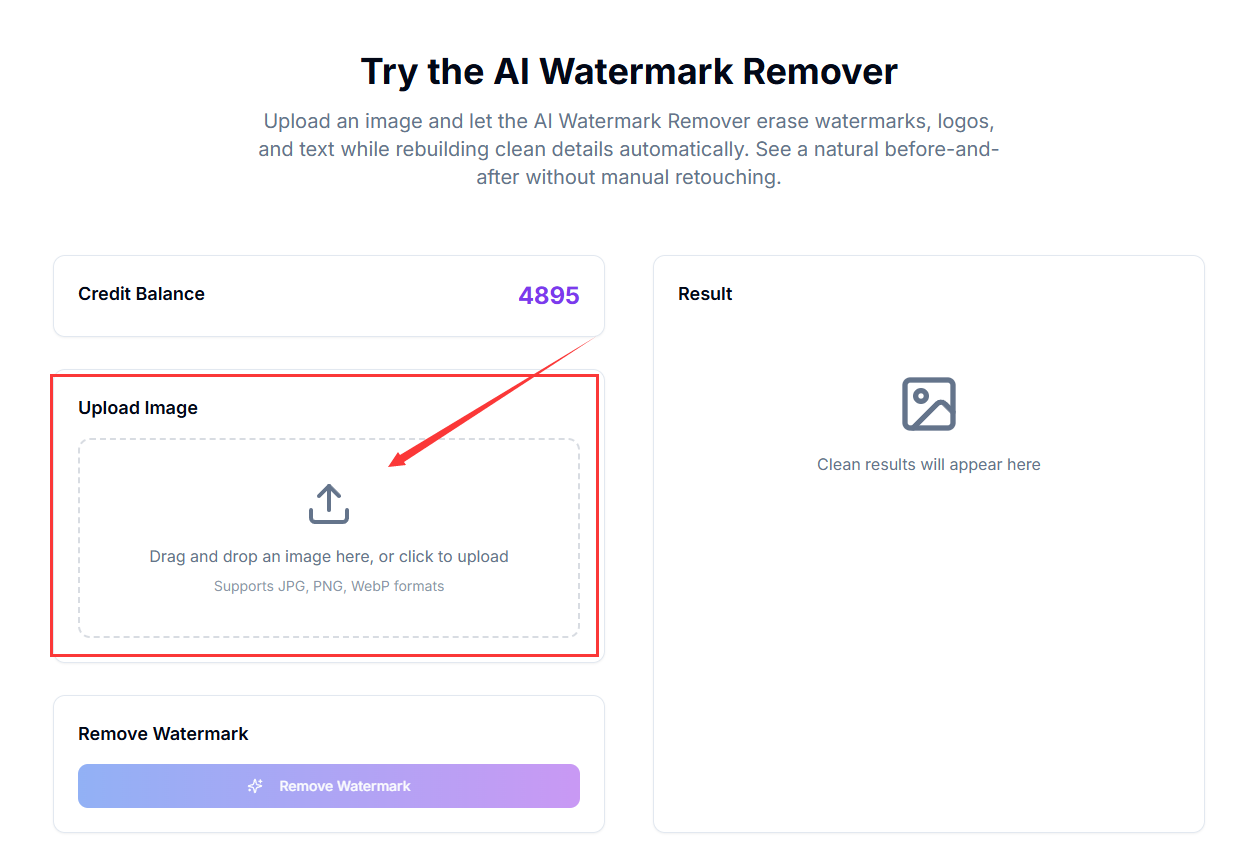
Upload your image
Click or drag an image into the upload area to start. You’ll see a preview once the file is loaded.
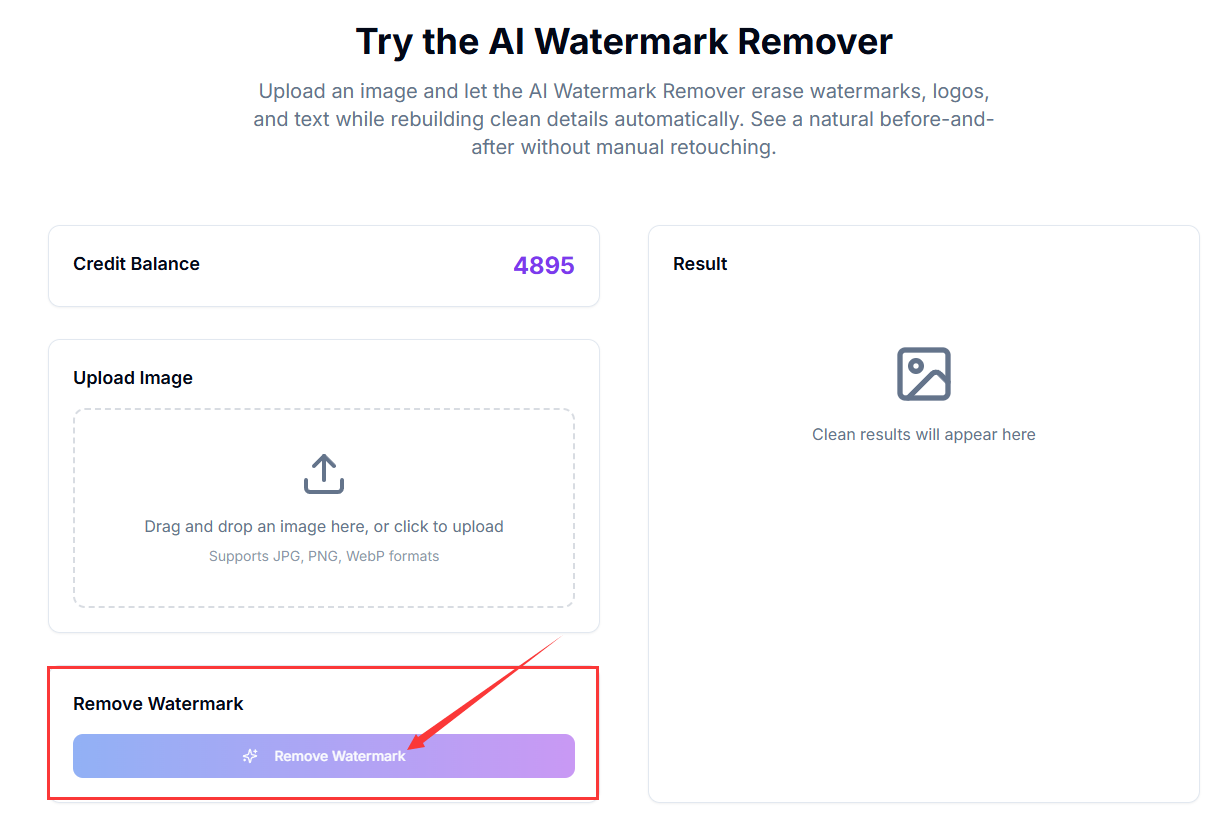
Click Remove to begin
Hit the Remove button to start the AI cleanup process. The system begins detecting the watermark and rebuilding the background.
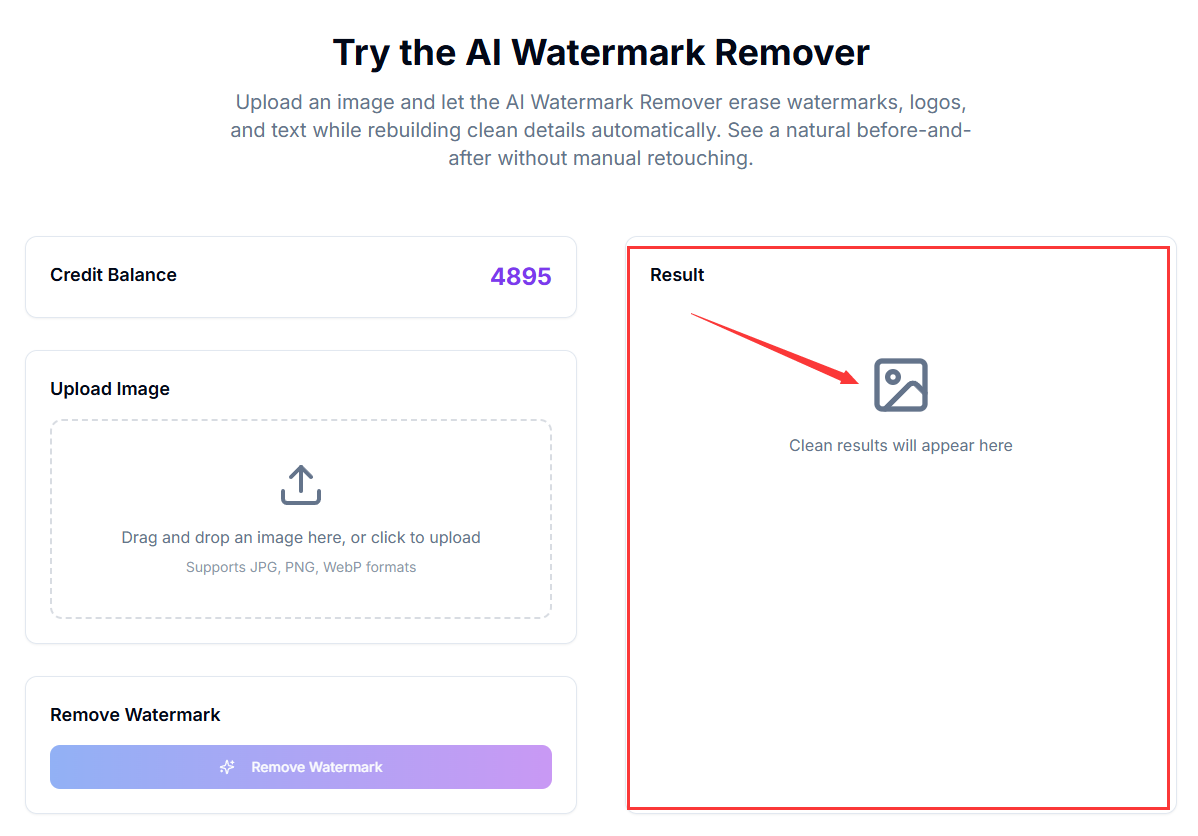
Get the clean result
After a short wait, the edited image appears on the right. From there, you can download the cleaned file.
What Happens After Processing
When processing finishes, the cleaned image is displayed in the results panel. Review the result, and if it looks good, download it immediately so you can use it in your project.
Common Questions
How long does it take?
Most images finish in under a minute, depending on size and complexity.
What if I need a better result?
Try a higher-resolution source or crop closer to the watermark and run it again.
Do you store my images?
No. Download your cleaned image right away—files are not permanently stored.
That’s it—your image is now watermark-free and ready to download or share.