

Free Trial · No Registration

Remove Glare from Photo

Use Remove Glare from Photo to soften distracting reflections on glasses, windows, and shiny products. Upload an image, mark the glare, and check the result before downloading.

Upload Image

Drag and drop up to 1 image here, or click to upload

Supports JPG, JPEG, PNG, WebP, and AVIF. Up to 50 MiB per file.

Original image
Original
Enhanced image
AI Enhanced
Loading...
Drag the slider to compare before and after

AI-generated comparison example. Actual results vary by photo and selection.

Remove Glare from Photo in 3 Simple Steps

Start with a clear original and a tight selection. Remove Glare from Photo handles one image per edit.

  1. 01

    Upload Your Photo

    Upload a JPG/JPEG, PNG, WebP, or AVIF image up to 50 MB to Remove Glare from Photo. Choose the clearest original available so the repair has useful surrounding detail.

  2. 02

    Mark the Glare Area

    In Remove Glare from Photo, brush or box only the reflection you want reduced. Avoid covering clear eyes, frame edges, and product lettering when placing your selection.

  3. 03

    Review and Download

    Compare the Remove Glare from Photo result with your original, then download it. Check faces, glass edges, and fine lettering; heavily obscured details may not be recovered accurately.

Fix Glare and Reflections Without Reshooting

Use Remove Glare from Photo for targeted repairs in everyday shots. Keep the highlights that show a surface's shape and material.

Remove Glasses Glare

A monitor, desk lamp, or camera flash can leave a bright patch across an eyeglass lens just when you have the expression you want. In Remove Glare from Photo, brush over the reflection rather than the whole lens, leaving clear eyes and frame edges outside the selection where possible. AI can attempt to rebuild the marked area from nearby detail. If the glare completely hides an eye, inspect the result carefully: generated detail may not match the person.
Clear Window and Glass Reflections

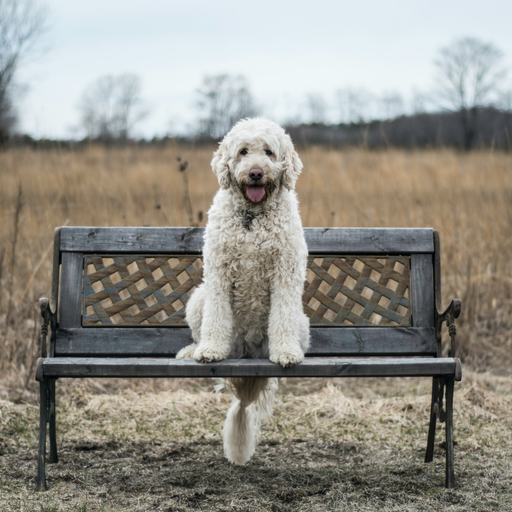
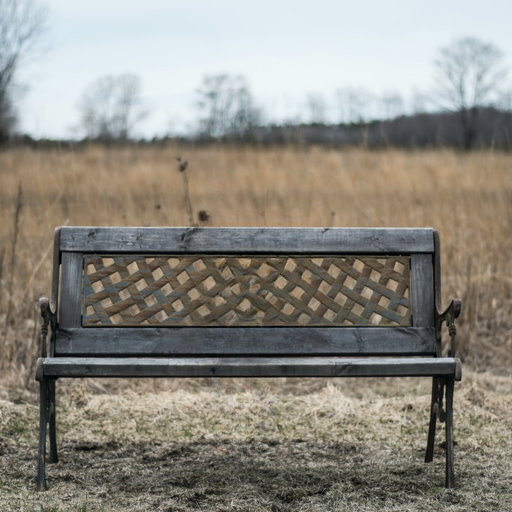
A shop window can reflect passing cars or the photographer over the display you wanted to capture. Use Remove Glare from Photo to select a small distracting patch on the glass and review how the repair blends with the objects behind it. A limited reflection is a better starting point than a pane covered by overlapping scenes. The tool edits the selected area; it cannot guarantee an accurate reconstruction of a display that was never visible in the original.

Fix Shiny Product Photos

Glossy packaging can catch a lightbox or ceiling lamp, leaving a white hotspot across a bottle, pouch, or cosmetics box. With Remove Glare from Photo, mark the patch while keeping readable labels and crisp package edges outside the selection. Reducing a distracting highlight can make the product easier to see, but some shine should remain to show the material and shape. Check small lettering and brand marks against the source before using an edited photo in a listing.

Reduce Sun Glare Outdoors

A backlit outdoor portrait or landscape may contain a small flare spot that draws attention away from the subject. Mark that local distraction in Remove Glare from Photo and judge the result against the original light in the scene. Keep the sun, bright sky, and intentional rim lighting outside the selection unless they are the specific area you want edited. Widespread haze and clipped white regions are harder to repair, especially where the original captured little usable detail.

Choose Your Plan

Flexible pricing options for different needs

Starter
$9.99$7.99/month
$95.90 billed annually

For casual creators

  • 400 credits / month
  • Auto-renewal
  • Standard support
  • Batch process up to 3 images at once
  • Fast queue
  • Customized requirements
Most Popular
Pro
$19.99$15.99/month
$191.90 billed annually

Best for regular photo cleanup

  • 1000 credits / month
  • Auto-renewal
  • Priority support
  • Fast queue
  • Batch process up to 5 images at once
  • Customized requirements
Ultra
$39.99$31.99/month
$383.90 billed annually

Built for power users

  • 3000 credits / month
  • Auto-renewal
  • Dedicated support
  • Fast queue
  • Customized requirements
  • Batch process up to 10 images at once

Before and After: Glare Removed

Use these examples to judge a Remove Glare from Photo edit. The glasses comparison is AI-generated; the window and product images are illustrative templates.

Original image
Original
Enhanced image
AI Enhanced
Loading...
Drag the slider to compare before and after

Portrait With Glasses

After using Remove Glare from Photo on a portrait, compare the eye shape, lens edges, and skin detail with your source. Keep useful catchlights.

Original image
Original
Enhanced image
AI Enhanced
Loading...
Drag the slider to compare before and after

Window Reflection

For window shots, review the Remove Glare from Photo result for a consistent display behind the glass and straight edges near the repaired reflection.

Original image
Original
Enhanced image
AI Enhanced
Loading...
Drag the slider to compare before and after

Product Photo

Review label lettering, packaging contours, and natural shine after using Remove Glare from Photo. Check that the edited image still represents the product accurately.

The comparisons illustrate what to check after using Remove Glare from Photo. The glasses pair is AI-generated; window and product images are templates, not verified results.

Discover More Image Cleanup Tools

Explore other Demarker pages built alongside AI Watermark Remover for watermark removal, text cleanup, and fast image polishing across different production needs.

  • AI Object Remover

    Remove unwanted objects from photos with AI while keeping backgrounds, lighting, and surrounding detail natural.

    Try object remover
  • Remove Watermark from Photo

    A focused landing page for photo cleanup when you need to remove watermark from photo collections such as portraits, travel shots, product photos, and social visuals.

    Open Photo Watermark Remover
  • Remove Logo from Image

    Built for brand-mark cleanup when you need to erase corner logos, app badges, or graphic overlays while keeping the background believable.

    Open Logo Remover
  • Remove Person from Photo

    Mark unwanted people and reconstruct the hidden background with a focused AI removal workflow.

    Open Person Remover
  • Remove Timestamp from Photo

    Built for photo-first timestamp cleanup when you need to erase camera date stamps, time overlays, or corner labels while keeping lighting and texture believable.

    Open Timestamp Remover
  • Remove Text from Image

    Built for text-specific cleanup when you need to erase captions, labels, subtitles, or date stamps while keeping the background believable.

    Open Text Remover
  • AI Background Remover

    Remove image backgrounds online with AI and create clean product photos, portraits, stickers, and transparent PNG assets faster.

    Try background remover

Remove Glare from Photo FAQ

Practical answers about selections, photo quality, supported files, and the free allowance.

With Remove Glare from Photo, upload your image and use the brush or rectangle to mark the unwanted reflection. Run the edit, then compare the result with your original before downloading. Keep clear surrounding detail outside the selection. Each attempt uses credits, so check the marked area first.

Remove Glare from Photo can attempt to reduce a bright patch on an eyeglass lens. Select only the glare and leave visible eye detail and frame edges untouched where possible. If the reflection completely hides an eye, the generated replacement may be inaccurate. Compare facial details closely with the original.

For a small window reflection, open the image in Remove Glare from Photo and select the distracting patch. Inspect the scene behind the glass after processing. Avoid selecting the whole pane at once: strong reflections over faces, lettering, or complex displays can be difficult to repair without changing underlying details.

Try Remove Glare from Photo on a local flare spot or distracting bright patch in an outdoor shot. Mark that area while leaving useful sunlight and natural highlights outside the selection. Small spots with surrounding texture are better candidates than widespread haze or completely white regions with no visible detail.

In Remove Glare from Photo, your selection guides the edit toward the marked area, and the instructions ask AI to preserve the surrounding scene. It is not a pixel-perfect boundary, so nearby details may still change. Compare faces, lettering, edges, and colors with your original before using the result.

You can upload JPG/JPEG, PNG, WebP, and AVIF images, with a maximum file size of 50 MB per image. This tool works on one photo at a time because each edit needs its own selection. Use the clearest original you have rather than a compressed screenshot for better surrounding detail.

No. Remove Glare from Photo runs in your browser, with a brush and rectangle for marking reflections. You can upload an image, make a selection, and review the AI result without installing desktop editing software. Check the repaired area carefully, especially around eyes, small lettering, and glass edges.

Guests receive 5 credits per month, and one glare-removal attempt costs 5 credits. Guest usage also shares a 15-credit monthly limit per IP address, which can reduce availability on shared networks. Registration adds 5 credits. Further edits require available credits; see the existing plans for paid options.